
As mentioned in my previous blog post, From Practicing HTML & CSS to Working On Apps , the real estate market in Denver is absolutely crazy. After a lot of headaches and spending months on Zillow and Redfin, I’ve finally put in an offer on my dream home. We are on track to close by the end of the month. I payed close attention to Zillow and Redfin’s website features and it inspired be to start building my own real estate website. I chose to build it with Ruby because that’s the language I’ve been working with most since I finished school. I also chose Ruby because it could be a great chance to strengthen the skills I learned at Flatiron, things like the MVC structure, forms, and controller actions.
First, I began brainstorming what kind of features I wanted my app to have. I knew it should have users that can sign up and log in, and a table for properties with an address, price, rooms, bathrooms, and photos. I also chose to use a PostgreSQL database and I didn’t want to use tests in this app just because I wanted to focus on other skills. So in my VS Code terminal, I ran:
rails new real-estate --database-postgres-sql --skip-test
Using the ‘rails new app-name’ command creates a Rails application in a directory and installs the gem dependencies that are already mentioned in your Gemfile using ‘bundle install’. It’s a quick and easy way to start a project rather than coding everything you would need, which would probably take hours, that ‘rails new’ provides to you in seconds. After that, I changed directories to start coding! cd real-estate/. To make sure everything is up and working the way its supposed to, we can run rails s which launches a web server. If you go to http://localhost:3000/ you will probably see this:

Which is a great sign!
Next step was to setup my database with: rails db:setup and run rails db:migrate which created a schema file for me. Also, as a reminder, commit and push your code often! git add ., git commit -m 'details about commit', and git push.
Next, I used rails g controller public main which set up a PublicController and added a main method , which I used for my home page. Then I needed to update the root route in config/routed.rb, root 'public#main', so that when a user visited the site, they would automatically be taken to the main page.

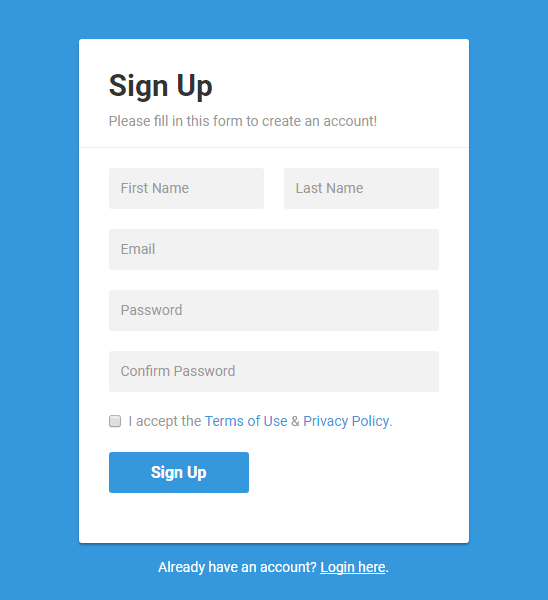
Finally, I used the devise gem to set up the user accounts by putting gem 'devise' in my Gemfile and then running bundle in the command line. Then I ran rails g devise:install to actually install devise and rails g devise:views which create a bunch of really handy views files for you. In my Accounts table, users have a first name, last name, email and password that they can use to make an account and then to log in later.
Since I started coding, I realized one of my struggles was remembering what commands you should run next while building an app, and exactly what certain commands do, such as: rails g scaffold, rails g model, or rails g controller. I found that the best way to familiarize yourself with these commands is to read the Rails Guides, and after you run these commands, go through your app and see what files these commands actually created for you. They are really helpful and definitely speed up the app-building process! For my next blog post, I will most likely continue my process for building this app and go into more detail about how the MVC structure works together to display what the user sees when they visit a site.
Peace,
Nica
Sources:
Learn.co Ruby on Rails Read Me’s and Labs